Last updated: 15 November 2026. Written for complete beginners — no prior cold email experience needed.
Every cold email starts with the same question: where do the addresses come from? It is a fair question, and it is the right one to ask first. After all, the list is the foundation of the whole campaign. A good list means your emails reach real people who might actually want what you offer. A bad list means bounces, spam complaints and a damaged sending reputation before you have even started. The good news is that learning how to get email addresses for cold email is simpler than it looks. You do not need a huge list, and you do not need an expensive database on day one. In fact, you need 50 to 200 real work addresses, found in the safest order, and verified before you send. This guide shows you that order, step by step.
Our pick for beginners: start free, then scale
Hunter for your first verified lookups on its free plan, Apollo when you also want a contact database and sending in one place. Compare all four finders in the table below — then build your first list of 50 to 200 people.
Compare the finder tools See the safest orderQuick Answer
How to get email addresses for cold email, in one paragraph: start with the safest sources and work down the ladder. First, collect addresses people give you willingly through lead magnets and inbound content. Next, use your own network and past customers. Then, research people manually on LinkedIn and find their work email on the company website or with a finder tool. After that, use a licensed B2B database such as Apollo for scale. Finally, verify every address before you send, and record where and when you found each one. In short, never buy a bulk list and never scrape addresses in bulk — those are the fastest ways to ruin your deliverability and your reputation.
Table of Contents
- How to get email addresses for cold email: the safest order
- Before you collect a single email address for cold email
- 1. Lead magnets and inbound: addresses people give you
- 2. Your own network and past customers
- 3. Manual LinkedIn research: how to get email addresses for cold email by hand — includes video
- 4. Licensed B2B databases: how to get email addresses for cold email at scale — includes video
- Email finder tools compared: how to get email addresses for cold email faster — includes comparison tables
- The highest-risk ways to get email addresses for cold email
- Verify every address before you send
- Record the source and date for every address
- The legal basics, in brief
- Common mistakes beginners make
- Frequently asked questions
- Your next step
How to get email addresses for cold email: the safest order
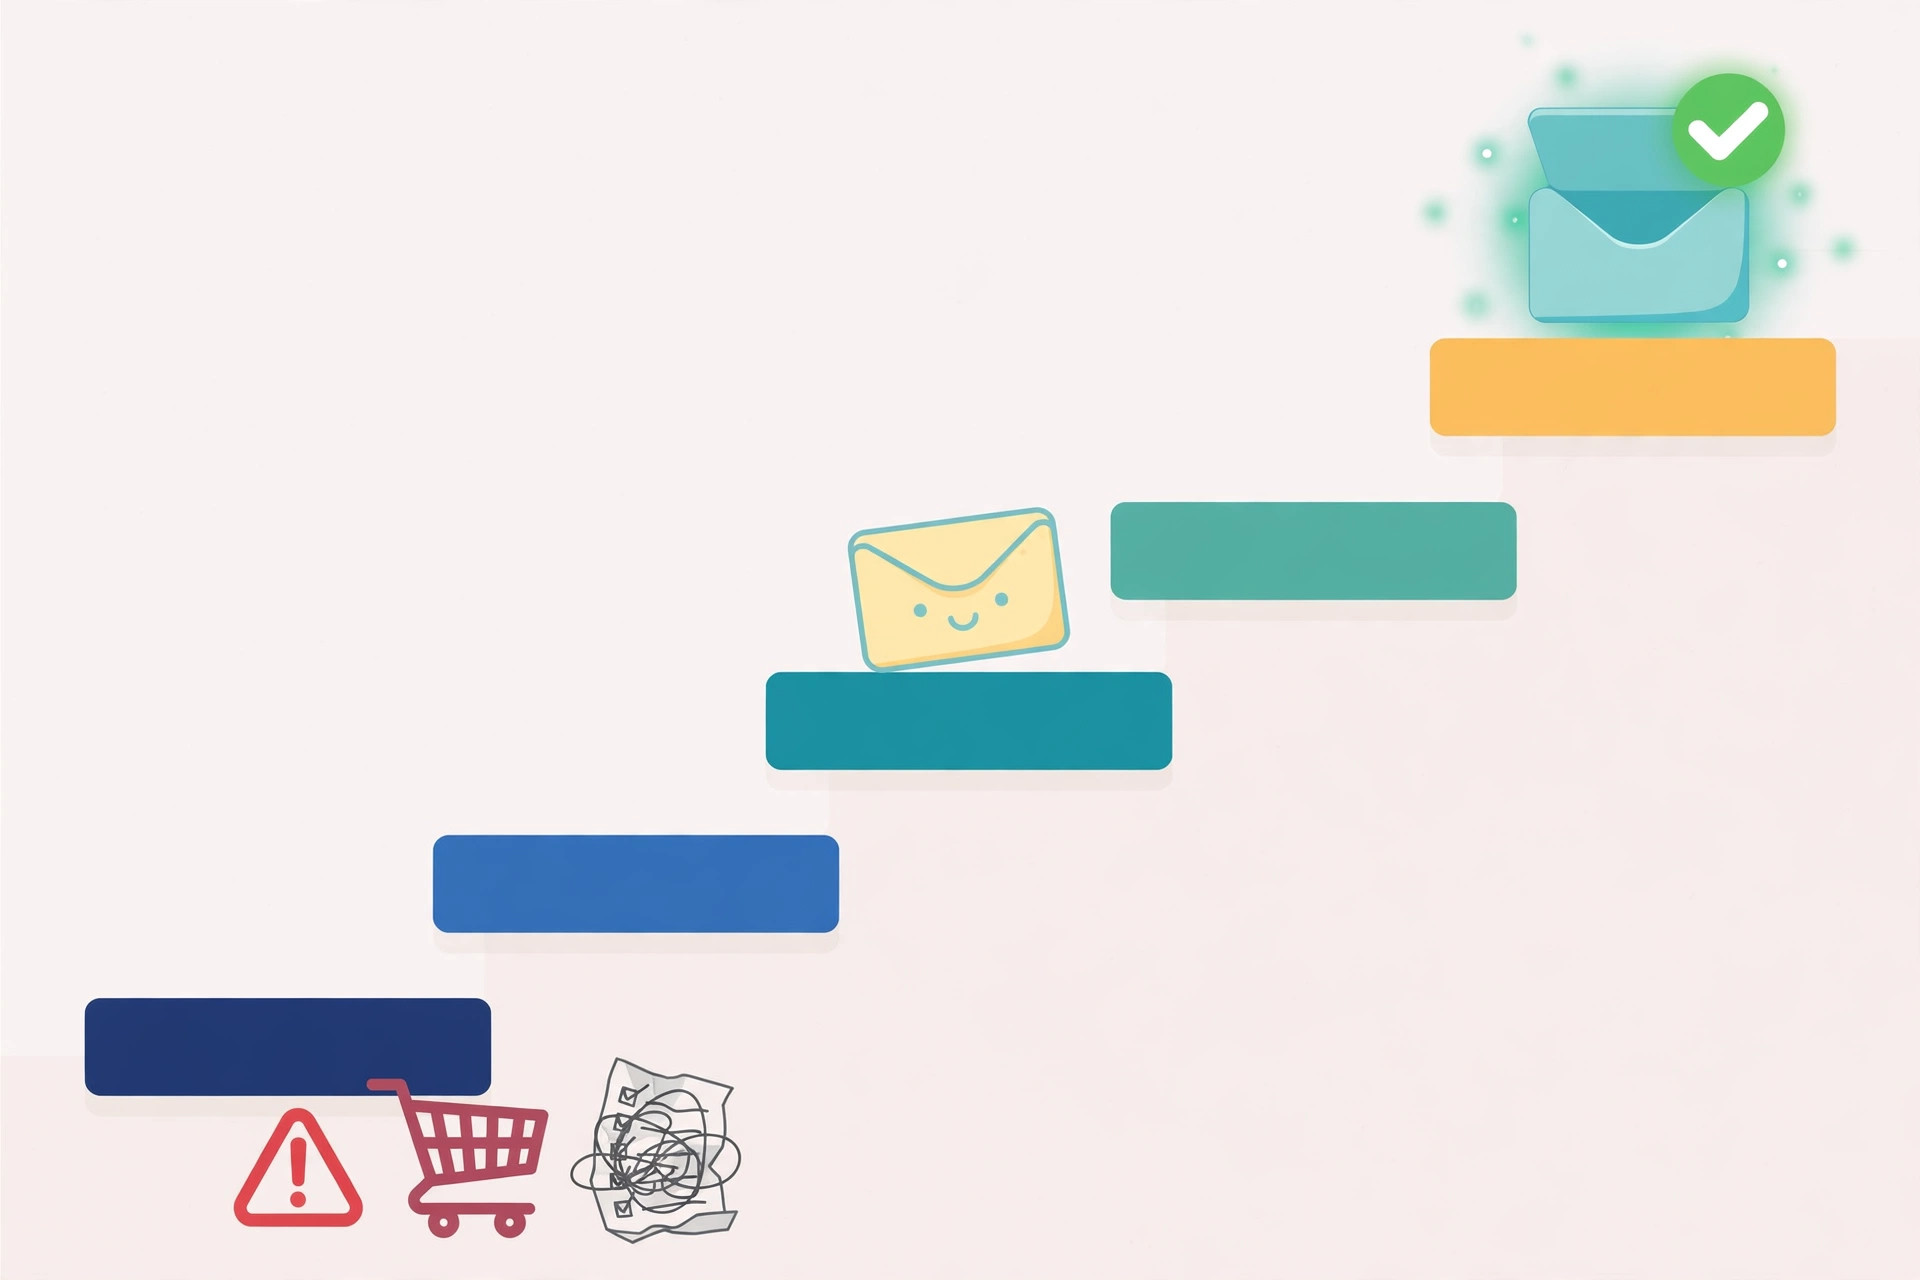
Not all email addresses are equal. In fact, how you found an address matters almost as much as the address itself. An address someone gave you willingly is the safest kind there is. One you found on a public company website is also safe, because it was published for business contact. A licensed database is safe too, as long as the provider is reputable and the data is fresh. In contrast, an address from a bought list is risky, because you have no idea where it came from, how old it is, or whether the person ever agreed to be contacted. As a result, the safest way to build a list is to work down a ladder, from the safest source to the least safe, and to stop as soon as you have enough people.
Why the order matters more than the tools
For your first campaign, that means 50 to 200 people. In short, a small, accurate list beats a huge, doubtful one every time. First, 50 good addresses will teach you more about your offer than 5,000 bought ones. Next, every reply tells you something useful, while every bounce hurts your sender reputation. Finally, a small list keeps you honest: you have to choose people who genuinely fit, instead of emailing everyone and hoping. In addition, starting small costs almost nothing, because the safest sources in this guide are free or have a free plan.
Think of the ladder as a habit, not a one-time task. For example, every week you should add a few addresses from the top of the ladder before you reach for the lower rungs. As a result, your list gets safer over time, instead of riskier. However, if you ever feel tempted to skip ahead and buy a list, read the highest-risk section first. It explains exactly what goes wrong, and why the shortcut costs more than it saves.
Before you collect a single email address for cold email
When you are learning how to get email addresses for cold email, the first decision is who you are looking for. In practice, that means writing down your ideal customer in one or two sentences: the kind of company, the size, the location, and the job title of the person who feels the problem you solve. For example: “Operations managers at dental clinics in Dublin with 5 to 20 staff.” Next, that one sentence is your filter for everything that follows. If a person does not match it, they do not go on the list — however easy their address is to find.
Set up your list sheet before you search
After that, set up a simple place to keep your list. A spreadsheet is enough for your first 200 contacts. In addition, give it these columns from day one: first name, last name, company, job title, work email, source, and date found. The last two columns matter more than beginners expect. First, the source tells you where each address came from, so you can prove it was found safely. Next, the date tells you how fresh it is, so you can re-check old addresses before you use them. Finally, a list with sources and dates is a list you can trust — and a list you can defend if anyone ever asks where you got their address.
Most importantly, decide your list size before you start collecting. Aim for 50 to 200 people for your first campaign, as we explain in our Cold Email for Beginners: The Complete 2026 Guide. In short, 50 is enough to learn from, and 200 is plenty to keep you busy for a week or two of sending. If you collect more than that before your first send, stop. In other words, you are collecting, not sending — and collecting feels productive while it quietly delays the real work.
1. Lead magnets and inbound: addresses people give you
The safest email address is one someone hands you themselves. That is what a lead magnet does. In short, a lead magnet is something useful you give away for free — a checklist, a template, a short guide, a calculator — in exchange for a work email address. For example, a cold email beginner could offer a one-page “first campaign checklist” on their site. A visitor who downloads it is telling you two things at once: they have the problem you solve, and they are happy to hear from you. As a result, these are the warmest addresses you will ever own.

How to set up your first lead magnet
First, pick a magnet that solves one small, specific problem. Next, keep it short — a one-page checklist beats a 40-page ebook that nobody finishes. Then, put it behind a simple form on your website that asks for a first name and a work email, nothing more. After that, say clearly what the person will get, and what you will send them afterwards. For example: “Get the checklist, plus one short email a week with cold email tips. No spam, unsubscribe anytime.” In addition, that honesty is not just polite — it is the deal. People who know what they signed up for stay on your list and reply to your emails.
However, lead magnets take time to work. A new website will not collect 200 addresses overnight. That is fine. In fact, even ten addresses from a lead magnet are worth more than a hundred bought ones, because those ten people asked to hear from you. Meanwhile, you can build the rest of your first list from the next rungs on the ladder. In the meantime, keep your magnet live and keep improving it: a better magnet collects better addresses, month after month, with no extra work from you. That is how to get email addresses for cold email without buying anything, and the addresses keep arriving while you focus on sending. If you want ideas for the form and the landing page itself, see our Best hub for the tools that handle forms and landing pages.
What makes a good lead magnet
- One problem, solved well. A checklist for one task beats a vague guide to everything.
- Quick to use. If it takes more than ten minutes to get value from it, it is too long.
- A match for your offer. The people who download it should be the same people you want to email.
- Almost nothing asked in return. First name and work email only — every extra field loses signups.
- Clear expectations. Say what emails will follow, and how often, right on the form.
2. Your own network and past customers
Your second-safest source is the people you already know. In fact, most beginners sit on a small list without realising it: past customers, past colleagues, people you met at events, suppliers, partners, and anyone who has emailed you first about your work. These people know who you are, so an email from you is not a surprise. As a result, they reply more often, and they forgive a clumsy first email far more easily than a stranger would.
How to get email addresses for cold email from people you know
First, open your inbox and your contacts and make a list of everyone who fits your ideal customer and who has had a real conversation with you. Next, add past customers first — even one-person businesses count — then people you have helped for free, then warm introductions you never followed up on. After that, ask yourself one honest question per name: would this person be surprised to hear from me? If the answer is no, they belong on the list. If the answer is yes, leave them off for now. In short, a warm list is small by nature, and that is exactly why it works.
However, there is one rule: never add someone just because you have their address. For example, a supplier who sold you office chairs is not a prospect for your software, however friendly they are. In addition, never email a whole old list at once without checking it first. People change jobs, companies close, and addresses go stale. So verify every address from your network too — the verification section below shows how — and remove anyone who has asked you not to email them. Finally, if you are not sure someone wants to hear from you, ask them first. A short “mind if I send you something useful?” message takes thirty seconds and protects the relationship.
3. Manual LinkedIn research: how to get email addresses for cold email by hand
LinkedIn is where manual research shines. In practice, the method is simple: search LinkedIn for your ideal job title, industry and location, open the profiles that match, and note the person’s name and company. Then find their work email on the company website — the team page, the contact page, or a press release — or use an email finder tool to match the name to the company domain. For example, if you find “Sarah Byrne, Head of Sales at Bright Dental”, you now know exactly who to contact and why. In short, you are choosing people one by one, which is slow — and that slowness is the point.
The manual LinkedIn workflow, step by step
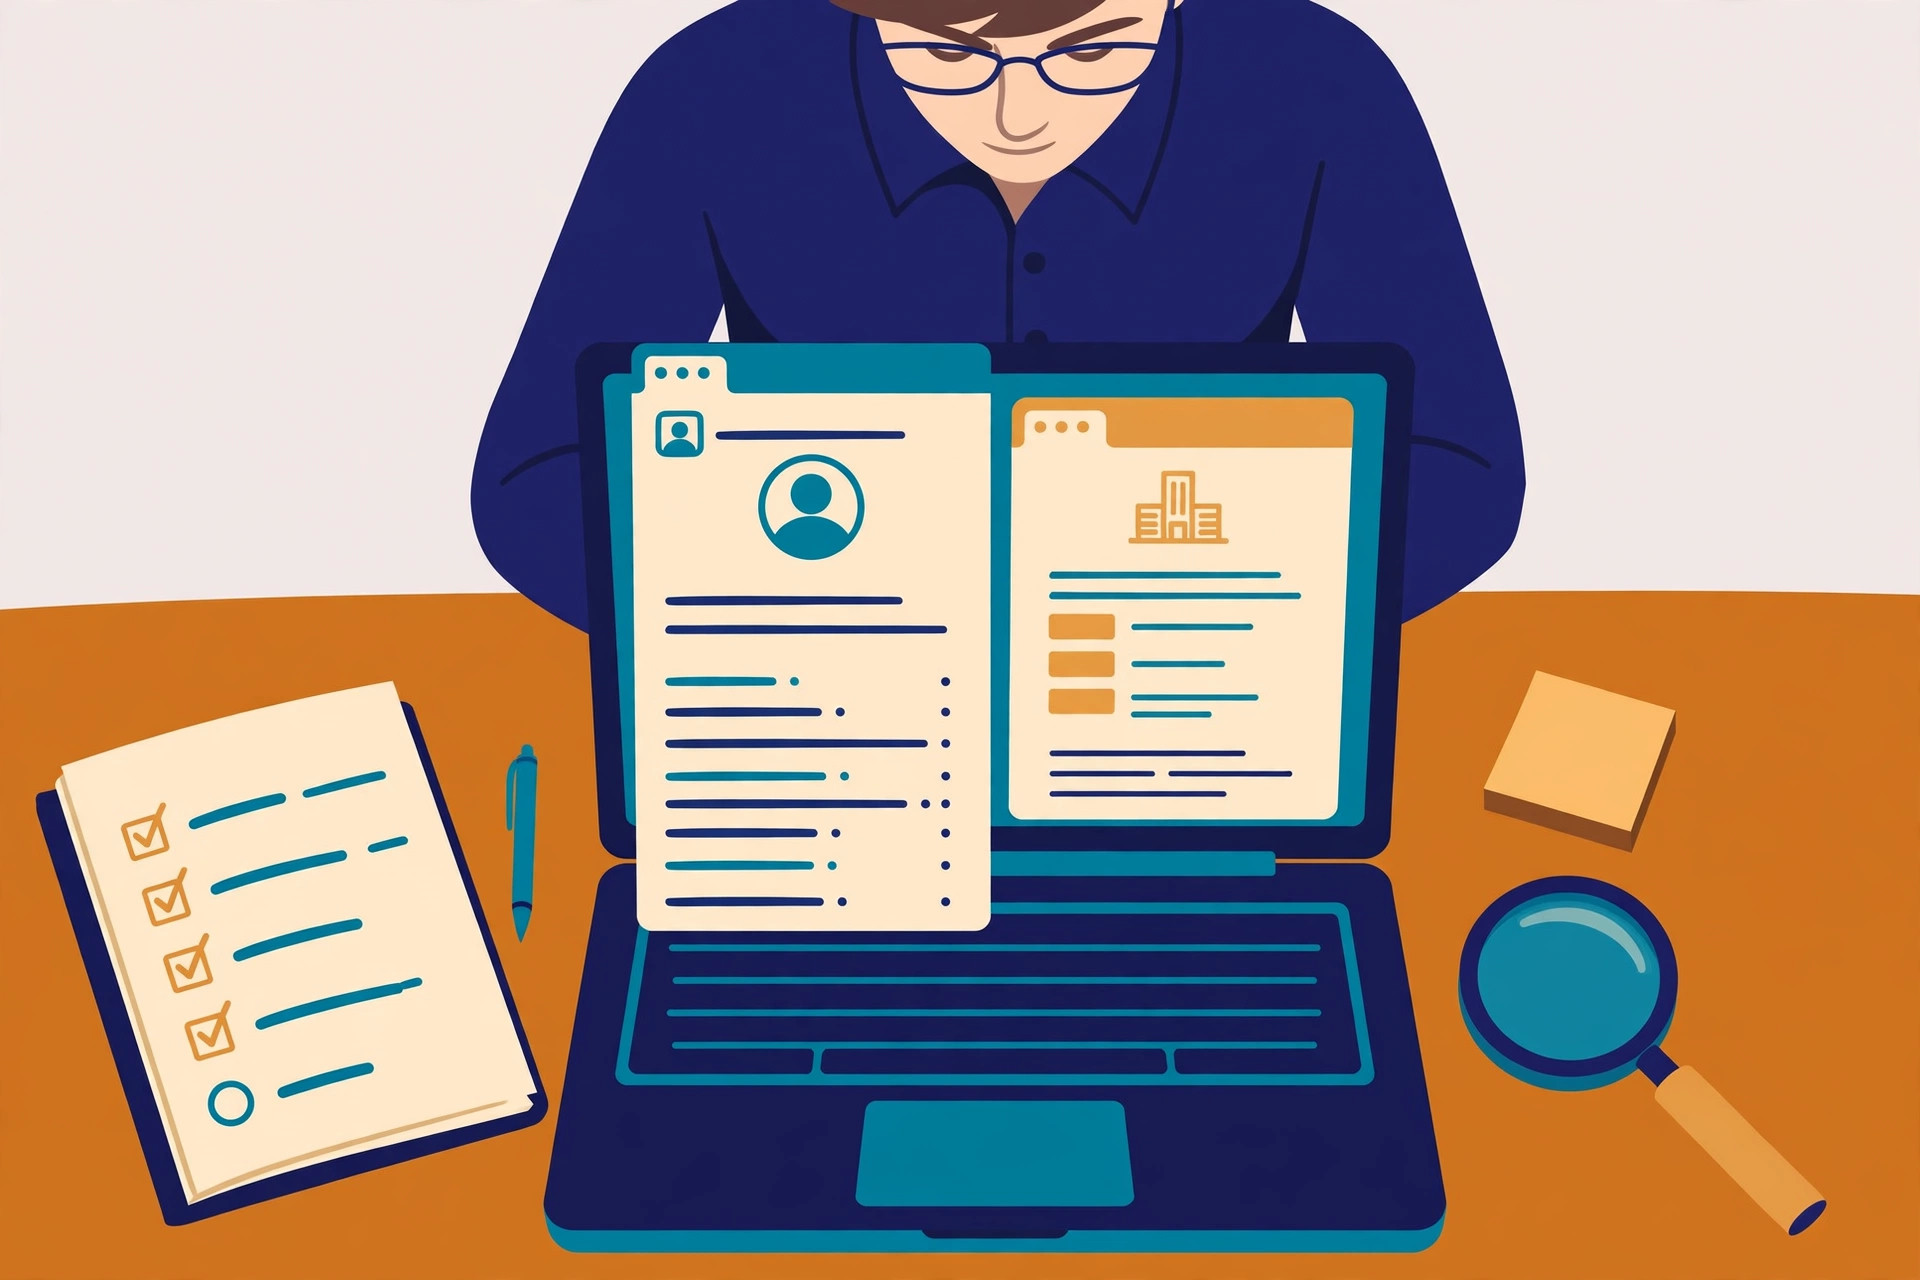
First, use LinkedIn search filters: job title, industry, location and company size. Next, read each profile properly before you add the person — do they actually feel the problem you solve, or do they just share a job title? Then, check the company website for a published work email. Many companies list staff emails on team pages, and many founders list theirs on contact pages. After that, if the email is not published, use a finder tool: enter the person’s name and the company domain, and the tool returns the likely work address with a confidence score. Finally, record the source as “LinkedIn + company website” or “LinkedIn + Hunter” in your spreadsheet, with today’s date.
Prefer to watch? Hunter’s official walkthrough shows the Email Finder in action — enter a name and a company domain, and it returns the verified work email:
Video credit: Hunter’s official Email Finder walkthrough by Hunter on YouTube, embedded in Hunter’s own help centre guide to the Email Finder. This video is the property of its creator and is embedded here via YouTube for educational purposes. OutreachCompare is not affiliated with Hunter and does not claim ownership of this content.
Manual research is slow — and that is the point
A few honest limits apply. In the first place, manual research is slow: expect 10 to 20 good contacts per hour, not 200. In addition, LinkedIn limits how many profiles you can view and how many searches you can run without a paid plan, so spread the work across a few days. However, that pace is a feature, not a flaw. Each person you add has been chosen by a human — you — for a real reason. As a result, your emails will be more relevant, your replies will be warmer, and your bounce rate will stay low. For example, a list of 100 hand-picked LinkedIn contacts will usually outperform a bought list of 5,000 on every metric that matters.
4. Licensed B2B databases: how to get email addresses for cold email at scale
When you need more than manual research can provide, licensed B2B databases are the next rung down. In short, these are companies that collect, check and license business contact data — names, job titles, companies and work emails — and let you search it with filters. For example, you can search for “marketing managers at software companies with 11 to 50 staff in Ireland” and get a list of matching people. The best-known option for beginners is Apollo, which combines a large contact database with email sequences in one tool. In addition, tools such as Hunter and Snov.io also offer searchable databases alongside their finders.
How to get email addresses for cold email with a database
First, pick one database and learn its filters properly, instead of opening accounts at five tools at once. Next, build a tight search: one industry, one company size band, one or two job titles, and one location. Then, look at the first 20 results by hand before you export anything. Are these really your ideal customers? If half of them are not, tighten the filters. After that, export only the people who fit, and verify the list before you send — even licensed data goes stale, because people change jobs every day. Finally, keep your exports small: 50 to 100 at a time is plenty for a beginner campaign.
Watch Apollo’s finder in action
Watch how it works: Apollo’s official guide walks through finding an email address for free, including its Chrome extension:
Video credit: “How to Find an Email Address (for free) with Apollo” by Apollo on YouTube, embedded in Apollo’s own guide to its email finder. This video is the property of its creator and is embedded here via YouTube for educational purposes. OutreachCompare is not affiliated with Apollo and does not claim ownership of this content.
However, databases have limits you should know about. In the first place, no database is perfectly accurate — Apollo itself describes its data as verified, but job changes and old records still slip through, so verification is never optional. In addition, most databases run on credits: revealing an email costs credits, and credits run out faster than beginners expect, especially for phone numbers. As a result, start on a free plan and test the data on your own ideal customers before you pay anything. If the data is wrong for your niche, you will know within a day — and you will have spent nothing. Compare the main database options in full on our Best B2B Data Providers hub.
Email finder tools compared: how to get email addresses for cold email faster
At this stage, you need one finder tool, not five. To help you choose, here are four finder tools that beginners actually use, ranked for a first list. Each one finds work emails a different way, and each one has a free way to start. Compare them in full on our Best B2B Data Providers hub, and on our Best Email Verification Tools hub for the verification side.
| # | Tool | Key strengths | Starting point | |
|---|---|---|---|---|
| 1 | Hunter ★ Best for: Beginners Best for beginners: simple finder with verification built in. | ✓ Domain Search and Email Finder ✓ Every email verified before you see it | Free plan — 50 credits a month | Visit Site →Check the site for current pricing & trial |
| 2 | Apollo ★ Best for: Data + sending Best if you also need a database and sending in one place. | ✓ Large searchable B2B database ✓ Free Chrome extension, sequences built in | Free plan available | Visit Site →Check the site for current pricing & trial |
| 3 | Findymail ★ Best for: Low bounces Best for keeping bounce rates low. | ✓ Find and verify in one step ✓ Catch-all verification, under-5% bounce guarantee | 10 free credits, no card | Visit Site →Check the site for current pricing & trial |
| 4 | Snov.io ★ Best for: All-in-one Best for finder, verification, warmup and sending in one account. | ✓ Email Finder plus 7-tier verifier ✓ Warmup and drip campaigns included | Free Trial — 50 credits a month | Visit Site →Check the site for current pricing & trial |
Last checked: 15 November 2026. Features checked on the providers’ official sites: Hunter, Apollo, Findymail and Snov.io. Features and pricing can change, so please check the provider’s site before you buy. We do not guess at features, prices or trials.
Our verdict for first-time list builders
Quick comparison at a glance
Same four tools, one view — so you can see at a glance which ones find by domain, which verify as they find, and which bundle sending as well.
| Feature | Hunter | Apollo | Findymail | Snov.io |
|---|---|---|---|---|
| Find by name + company | ✓ | ✓ | ✓ | ✓ |
| Domain search (everyone at a company) | ✓ | ✓ | — | ✓ |
| Bulk find from a list | ✓ | ✓ | ✓ | ✓ |
| Verification built into finding | ✓ | ✓ | ✓ | ✓ |
| Chrome extension | ✓ | ✓ | ✓ | ✓ |
| Searchable contact database | ✓ | ✓ | — | ✓ |
| Cold email sending built in | ✓ | ✓ | — | ✓ |
| Free plan or trial | ✓ | ✓ | ✓ | ✓ |
✓ = feature stated on the provider’s site or in its official video. — = not confirmed for this tool — check the provider’s site before you buy. We do not guess at features, prices or trials. Last checked: 15 November 2026.
The highest-risk ways to get email addresses for cold email
Buying an email list feels like a shortcut. In reality, it is the most expensive mistake a beginner can make. First, bought lists are usually old. People change jobs, companies close, and addresses go stale fast — a list that was fresh a year ago can bounce on a third of its addresses today. Next, bought lists are full of people who never agreed to hear from you. As a result, they mark your emails as spam, complain, or simply ignore you. In addition, bought lists often contain spam traps: addresses that exist only to catch senders who email lists they should not have. Finally, one spam trap hit can damage your sending reputation for weeks.
Scraping addresses in bulk is just as risky. In short, scraping means automatically harvesting addresses from websites, directories or social profiles without permission. First, scraped addresses are often personal, out of date, or published for a different purpose entirely. Next, scraping at scale breaks the terms of most websites, and it breaks trust with the people you contact. As a result, your emails look like spam — because, frankly, that is how they were collected. However, there is a clear line here: finding one work email that a company published on its own website is normal research. Harvesting ten thousand addresses with a bot is not. If you are ever unsure which side of the line you are on, ask this: would I be comfortable explaining to this person, in my first email, exactly where I found their address? If the answer is no, do not email them.
Why bought lists hurt your deliverability
Most importantly, the damage from a bad list is not theoretical. High bounces tell Gmail and Outlook that you do not know your recipients. Spam complaints tell them your recipients do not want your emails. Together, they push your future emails — including the good ones — into spam folders. In contrast, a small list built the safe way keeps your bounce rate under 2%, which is the healthy target we explain in our beginner’s guide. In short, the shortcut costs you the very thing you were trying to build: a sender reputation you can rely on. That is why buying lists and scraping sit at the very bottom of how to get email addresses for cold email — they are the rungs to avoid, not the rungs to start on.
Verify every address before you send
Verification is the step beginners skip most — and the step that matters most. In short, verification means checking that an email address is real, deliverable, and safe to send to, before you ever send to it. That check is the final step of how to get email addresses for cold email safely: no address joins your sending list until it passes. First, a verifier checks the syntax and the domain. Next, it checks the mail server and whether the mailbox exists. Then, it flags catch-all domains, where the server accepts everything and the address cannot be confirmed. Finally, it gives you a simple result: valid, invalid, risky, or unknown. In addition, many finder tools verify as they find, so the addresses you get back are already checked. However, addresses from any other source — your network, a website, a spreadsheet — still need a separate check.
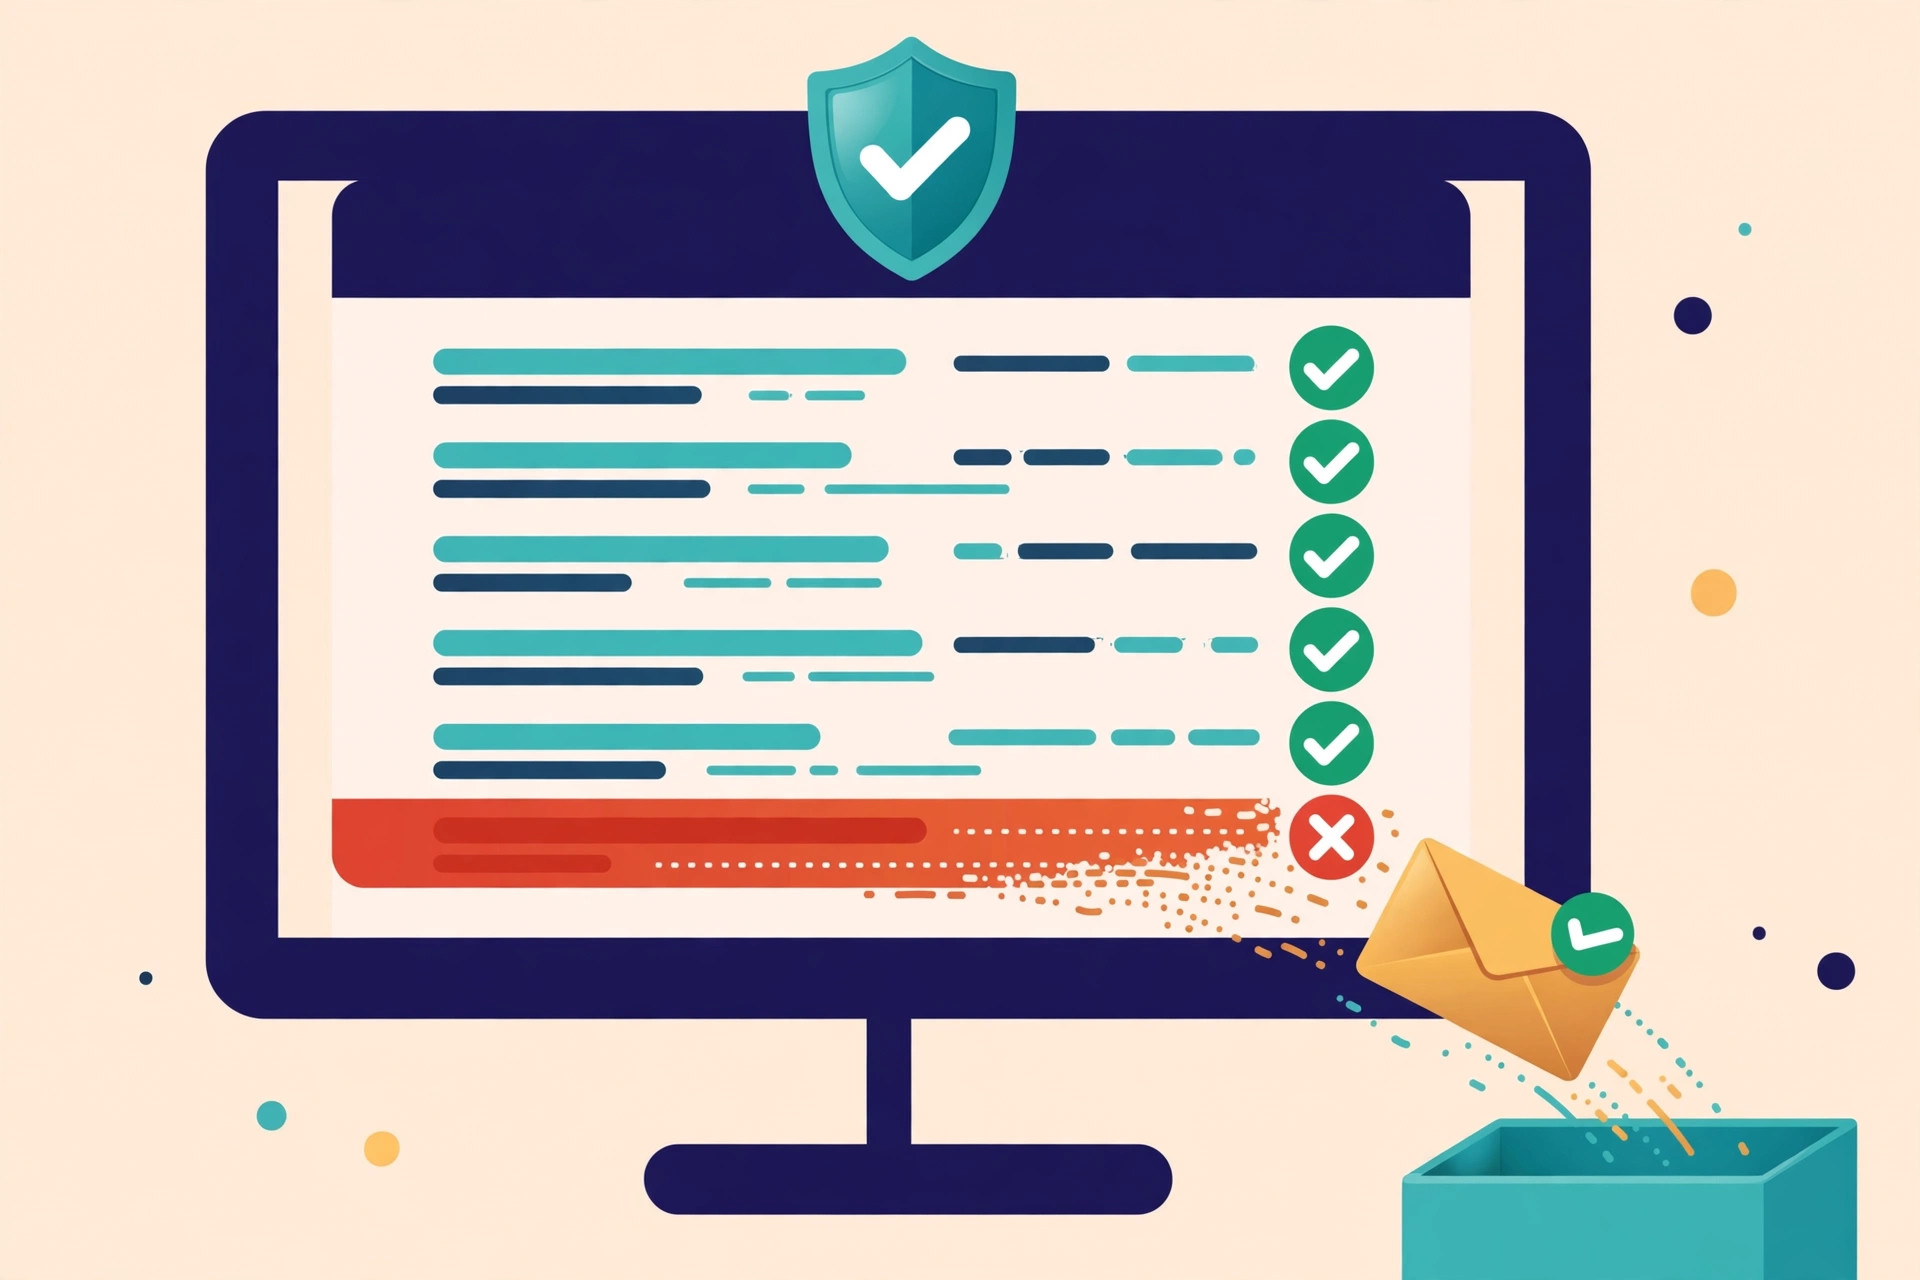
Verify, then send — every time
First, run your whole list through a verifier before your first send. Next, remove every address marked invalid, and treat risky and catch-all addresses with care: either leave them out of your first campaign, or email them only in a small test batch. Then, re-verify any list you have not used in three to six months, because addresses go stale while they sit. After that, keep your bounce rate under 2% — if it climbs above that, stop sending and clean the list again. Finally, remember that verification is not a one-time job. It is a habit, like the ladder itself, and it protects every campaign you will ever send. Compare dedicated verifiers on our Best Email Verification Tools hub.
Record the source and date for every address
A list without sources is a list you cannot trust. First, recording the source and date for every address takes seconds when you collect it, and hours to reconstruct later. Next, it answers the three questions that matter: where did this address come from, when did I find it, and is it still fresh? After that, it helps you in practical ways too. For example, if your bounce rate rises, you can check which source the bounces came from — and stop using that source. In addition, if someone asks where you got their address, you can answer honestly and precisely. Finally, under data protection rules in the EU and UK, being able to say where you got an address is part of showing you handled it properly.
| Name | Company | Work email | Source | Date found |
|---|---|---|---|---|
| Sarah Byrne | Bright Dental | sarah@brightdental.example | Lead magnet download | 10 Nov 2026 |
| Tom Kelly | Northside Clinic | tom@northsideclinic.example | LinkedIn + company website | 12 Nov 2026 |
| Ana Ruiz | Harbour Physio | ana@harbourphysio.example | Apollo database | 14 Nov 2026 |
Example rows only — the addresses above are illustrative, not real people. Your own sheet should use the same five columns for every contact you collect.
Five columns are enough
Keep the system simple so you actually use it. In practice, five columns are enough: name, company, work email, source, and date found. First, write the source in plain words — “lead magnet”, “LinkedIn + company website”, “Apollo database”, “past customer” — not a code you will forget. Next, add the date you found the address, not the date you plan to email them. Then, add a short note if the source needs explaining, such as which lead magnet they downloaded. Finally, review the sheet every month: remove anyone who asked to be removed, re-verify anything older than six months, and delete addresses you no longer have a reason to keep. As a result, your list stays small, fresh and honest — and every address in it is one you can stand behind.
The legal basics, in brief
How to get email addresses for cold email legally
Cold email to businesses is legal in most countries when you follow a short checklist — and how you got the address is part of that checklist. In the US, CAN-SPAM requires honest subject lines and headers, your postal address in the email, and an opt-out honoured within 10 business days. See the FTC CAN-SPAM compliance guide. For the EU and UK, most B2B cold email relies on legitimate interest under GDPR: the contact must be relevant to your offer, and you must be able to say where you got their details. In addition, Canada’s CASL is consent-first, with implied consent for existing relationships and for work addresses published for business contact. However, Germany and Austria are stricter, and generally require prior express consent — so use LinkedIn, calls or content marketing there instead.
Why the safe ladder is also the compliant one
In short, the safest-first ladder in this guide is also the most compliant way to build a list. First, addresses people gave you come with consent built in. Next, published work addresses and licensed database contacts fit the legitimate-interest model, as long as the person is relevant and you say where you found them. In contrast, bought lists are the hardest to defend, because you cannot show where the addresses came from or that the people agreed to anything. As a result, if you follow the ladder, keep your sources recorded, and honour every opt-out immediately, you are already doing most of what the law asks. General information, not legal advice. Sending at large scale, or if you receive a regulator letter, speak to a lawyer. Read the full checklist on our Is Cold Email Legal? page.
Common mistakes beginners make
Mistakes to avoid when you get email addresses for cold email
- Buying a list to save time. In fact, bought lists bounce, complain and damage your sender reputation. Start with 50 to 200 addresses from the safe sources above.
- Collecting without a filter. If you have not written down your ideal customer, every address looks like a good one. First, define who you want. Next, collect only those people.
- Skipping verification. Above all, verify every address before you send, even ones from your own network. An unverified list is a bounce waiting to happen.
- Forgetting to record the source. A list with no sources cannot be cleaned, defended or trusted. Record the source and date for every address, the day you find it.
- Scraping in bulk. Harvesting thousands of addresses with a bot is not research. It is the fastest way to look like spam, and to be treated like it.
- Using personal addresses. Stick to work emails published for business contact. Personal inboxes are off limits for cold outreach.
- Keeping old lists forever. Addresses go stale in months. Re-verify anything older than six months, and delete what you no longer need.
- Ignoring opt-outs. When someone says stop, stop the same day, and add them to a suppression list so they never hear from you again.
Frequently asked questions
How to get email addresses for cold email without buying a list?
Work down the safest-first ladder: lead magnets and inbound first, then your own network, then manual LinkedIn research, then a licensed B2B database such as Apollo. In short, you can build a first list of 50 to 200 verified work addresses without buying anything — and that list will perform better than any bought list.
How many email addresses do I need to start cold email?
Start with 50 to 200 people. In fact, 50 good addresses are enough to learn from, and 200 will keep you busy for a week or two of sending. A small, accurate list beats a huge, doubtful one every time.
Is it legal to find someone’s work email on LinkedIn?
Yes, in most countries, when you use it for relevant B2B outreach. First, find the person on LinkedIn. Next, get their work email from the company website or a finder tool. Then, say who you are and where you found them in your first email, and honour any opt-out immediately. However, rules vary by country — Germany and Austria generally require prior consent. See our Is Cold Email Legal? page.
Should I verify email addresses before sending?
Yes — always. Verification checks that an address is real and deliverable before you send, and it keeps your bounce rate under 2%. In addition, re-verify any list you have not used in three to six months, because addresses go stale while they sit. Compare verifiers on our Best Email Verification Tools hub.
What is the safest way to get email addresses for cold email?
The safest way is a lead magnet: someone gives you their work email in exchange for something useful, such as a checklist or a template. After that, your own network comes next, then manual LinkedIn research, then a licensed database. Buying lists and bulk scraping are the least safe ways, and the ones to avoid.
Which email finder should a beginner start with?
For cold email beginners, Hunter is the simplest start, with a free plan and verification built in. Apollo is best if you also want a contact database and sending in one tool, Findymail is best for low bounces, and Snov.io is best if you want warmup included. Compare all four in the finder tools table above.
Your next step
By now, you know how to get email addresses for cold email the safe way: start at the top of the ladder, work down one rung at a time, verify everything, and write down where each address came from. Your next step is simple. First, write down your ideal customer in one sentence. Next, build your first list of 50 people from the safest sources above. Then, verify the list, set up your sending domain, and send your first short emails. Our Cold Email for Beginners: The Complete 2026 Guide walks through the whole system, from offer to first meeting. You are in the right place — start with one rung, and build from there.
Keep reading — next in this series
You know where addresses come from now. Go deeper with the guides that follow it:
- Cold Email for Beginners: The Complete 2026 Guide — the full beginner system, from offer to first meeting.
- Start Here — the hub that maps the whole beginner journey, in order.
- How Cold Email Works — the seven steps of a campaign, end to end.
- Best B2B Data Providers — the full comparison behind the finder table in this guide.
- Best Email Verification Tools — how to verify your list before you send.
- Is Cold Email Legal? — the short checklist version of the legal basics.
- How to Set Up a Sending Domain: SPF, DKIM, DMARC and Warmup (coming soon — the next article in this series)
- Best Cold Email Tools for Beginners 2026 (coming soon)