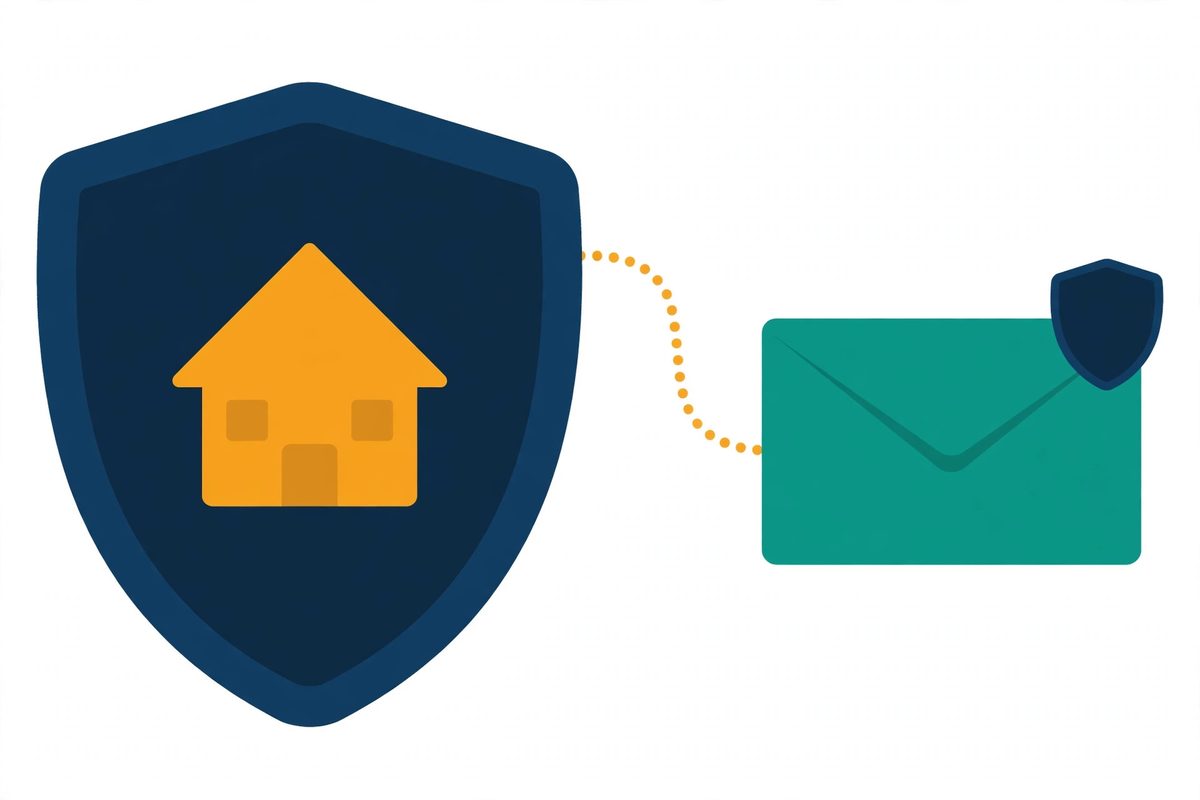
If you are about to send your first cold emails, here is the single most important technical step. It is also one of the easiest to get right: set up a sending domain with SPF, DKIM and DMARC, and warm it up before you send to real people. It sounds technical, and the three-letter acronyms do not help, but in practice it is about twenty minutes of copying and pasting, followed by two to four weeks of patience while your new domain earns a good reputation. This guide walks through every step in plain English, with no jargon left unexplained, so you can set up sending domain SPF DKIM DMARC records and start sending with confidence.
Last updated: 15 November 2026. Written for complete beginners — no prior technical experience needed.
Set up your sending domain once, send safely for years
A separate sending domain, three small DNS records and a two-to-four-week warmup are all that stands between you and the inbox. Follow the steps below in order, and your cold emails will reach real people instead of spam folders.
Compare the best warmup tools Jump to the warmup rampQuick Answer
How to set up sending domain SPF DKIM DMARC, in one paragraph: first, buy a separate sending domain that looks like your main domain — for example, yourcompany.co if your website is yourcompany.com — and create a mailbox on it. Next, add three DNS records. SPF lists the servers allowed to send for your domain. DKIM signs every email to prove it really came from you. And DMARC tells Gmail and Outlook what to do with mail that fails those checks. Then, set up a custom tracking domain, warm the domain up for two to four weeks with a slow daily ramp, and check your reputation in Google Postmaster Tools.
Finally, start sending to real prospects at 25 to 30 emails per mailbox per day, never more than 40, and add more mailboxes when you want more volume. Keep bounces under 2% and spam complaints under 0.1%, and your domain will stay healthy.
Table of Contents
- Why you need a separate sending domain
- Choosing and buying your sending domain
- Set up sending domain SPF DKIM DMARC, step by step — includes video
- Testing your SPF DKIM DMARC setup before you send
- Setting up a custom tracking domain
- Warming up your domain: the 2–4 week ramp — includes video
- Sending limits and how to scale safely
- Google Postmaster Tools: reading your reputation
- Measuring success: bounce, spam and replies
- Warmup tools compared — includes comparison tables
- Common mistakes beginners make
- Frequently asked questions
- Your next step
Why you need a separate sending domain
Above all, never send cold email from your main business domain. Your main domain is where your website lives, where your customers email you, and where your invoices and password resets come from. If that domain ever gets flagged for spam, every email you send — including the important ones — starts landing in spam folders. In contrast, a separate sending domain keeps that risk in a small, contained box. If anything goes wrong with deliverability on the sending domain, your main domain and your everyday email stay completely safe.
In short, a sending domain is a second domain you buy only for cold email. It looks like your main domain, so recipients still recognise your brand, but it is technically separate. For example, if your website is yourcompany.com, your sending domain could be yourcompany.co, getyourcompany.com or yourcompanyemail.com. The exact variation matters less than the separation itself. As a result, your main domain keeps its clean reputation, while your sending domain builds its own reputation from scratch — which is exactly what the warmup process in this guide is for.
What happens if you skip the separate domain
For example, imagine two founders. The first sends cold email from her main domain, skips warmup, and sends 500 emails on day one. Within a week, her domain reputation drops, her invoices start landing in spam, and her customers stop replying. The second founder buys a separate sending domain for a few pounds, sets up SPF, DKIM and DMARC, warms it up for three weeks, and sends 25 emails a day. Her main domain never notices a thing, and her cold emails land in the inbox. In other words, the second founder did not work harder — she just separated the risk. That is the whole idea, and it is the first thing every experienced cold email sender does.
Choosing and buying your sending domain
To begin with, pick a sending domain that is close to your real brand, so recipients recognise you at a glance. Good options are a different ending on the same name — yourcompany.co, yourcompany.io or yourcompany.net — or a short prefix such as getyourcompany.com or tryyourcompany.com. In short, if someone reads the sender address, they should still know it is you. Avoid domains that look odd or unrelated, and avoid hyphens and numbers where you can, because they are harder to trust and harder to remember.
Next, buy the domain from any normal registrar — the same place you bought your main domain is fine — and expect to pay only a few pounds or dollars a year for a standard ending. After that, you need a mailbox on the sending domain, because cold email tools send through a real inbox, not directly from the domain itself. In practice, most beginners use Google Workspace or Microsoft 365 for this: create the mailbox, for example hello@yourcompany.co, and connect it to your sending tool. As a result, your emails come from a real, working inbox that can receive replies, which is exactly what mailbox providers want to see.
Create the mailbox and redirect the domain
Finally, point the sending domain at your website with a simple redirect, so anyone who types it into a browser lands on your real site instead of an empty page. This takes two minutes at your registrar, and it makes the domain look like a normal part of your business rather than a throwaway address. In addition, it protects you if a curious recipient checks the domain before replying — they will see your real website, your real offer, and your real company. However, do not host a second copy of your website on the sending domain, and do not use it for anything else. One job, one domain: cold email only.
A quick checklist before you move on
- Sending domain bought — close to your brand, no hyphens or numbers if you can avoid them.
- Mailbox created — for example, hello@yourcompany.co on Google Workspace or Microsoft 365.
- Domain redirects to your website — so it looks like a real part of your business.
- Nothing else uses this domain — no website, no invoices, no password resets.
Once those four boxes are ticked, you are ready for the technical heart of this guide: the three DNS records. Do not worry — they are simpler than they sound, and your sending tool will hand you the exact values to paste in.
Set up sending domain SPF DKIM DMARC, step by step
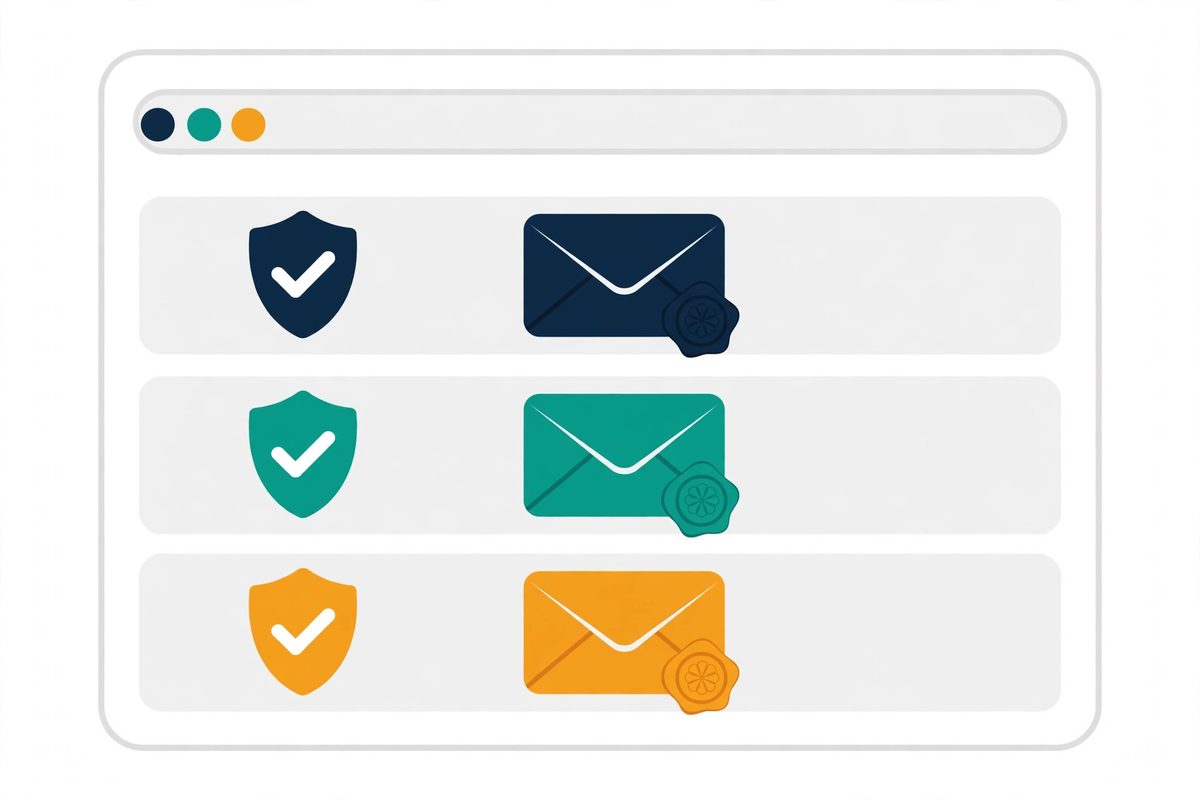
Now for the three acronyms. When you set up sending domain SPF DKIM DMARC records, these are the three pieces you are adding. Together, SPF, DKIM and DMARC are your sending domain’s ID badge: they prove to Gmail, Outlook and every other mailbox provider that your emails really come from you, and that nobody is impersonating your domain. Without them, your emails look suspicious, and many will go straight to spam. With them, you look like a real sender. The good news is that you do not need to understand the cryptography behind them. You only need to copy three values into your domain’s DNS settings — the control panel at your registrar where your domain’s records live — and wait a day or two for them to take effect.
SPF: who may send for you
SPF (Sender Policy Framework) is a public list of the servers allowed to send email for your domain. When Gmail receives your email, it checks the SPF record and asks: is this server on the approved list? If yes, the email passes its first check. If no, it looks like a forgery. Your sending tool or your mailbox provider — Google Workspace, for example — gives you the exact SPF value to add, and you paste it into DNS as a TXT record on your sending domain. For example, a Google Workspace SPF record looks like v=spf1 include:_spf.google.com ~all. Do not copy that value blindly, though: your sending tool may need its own entry added to the same record, because a domain should have exactly one SPF record. If your tool gives you an SPF value, add its include to your existing record rather than creating a second one.
DKIM: the signature that proves it is you
DKIM (DomainKeys Identified Mail) adds a digital signature to every email you send, like a wax seal on a letter. The receiving server checks the signature against a public key published in your DNS, and if they match, it knows the email really came from you and was not altered on the way. To set it up, generate the DKIM key in your mailbox provider’s admin console — Google Workspace calls this “Authenticate email”. Then paste the long key it gives you into DNS as a TXT record, and switch DKIM signing on. In short, the key is long and ugly, but all you do is copy and paste it. Allow up to 48 hours for DKIM to start working after you turn it on.
DMARC: the rulebook that ties it together
DMARC (Domain-based Message Authentication, Reporting and Conformance) is the rulebook that ties SPF and DKIM together. It tells receiving servers what to do when an email fails those checks: deliver it anyway, send it to spam, or reject it outright. It also tells them where to send you reports about who is sending mail as your domain — including anyone trying to impersonate you. Start with the gentlest policy, p=none, which means “just watch and report”. That way, you can see the reports for a week or two and check that your real emails are passing before you tighten anything. After that, you can move to p=quarantine (failed mail goes to spam) and eventually p=reject (failed mail is blocked). However, never jump straight to reject on day one — if one of your real senders is misconfigured, you will block your own emails.
How to set up sending domain SPF DKIM DMARC records, in order
- Add your SPF record first. Paste the TXT value from your mailbox provider or sending tool into DNS at your registrar. Wait a few hours, then check it has published.
- Next, generate and add your DKIM key. Create the key in your admin console, paste it into DNS, and switch DKIM signing on. Allow up to 48 hours.
- Then wait 48 hours. Give SPF and DKIM time to settle before you add DMARC, so you know the first two are working.
- Finally, add your DMARC record at the host _dmarc, starting with p=none and a report address you actually read, such as rua=mailto:dmarc@yourdomain.com.
- Check all three with a free tool (see the testing section below) and fix anything it flags before you send a single email.
In total, the copying and pasting takes about twenty minutes, and the waiting takes up to two days. That waiting is not wasted time: start your warmup the moment the records are live, and by the time the warmup finishes, your authentication will be fully settled. If you use Google Workspace, Google’s own help pages walk through each record with screenshots — search for the Google Workspace guide to setting up SPF, DKIM and DMARC, and follow it alongside this guide. Above all, remember the order: SPF, then DKIM, then wait, then DMARC at p=none. In addition, keep a note of exactly which values you added and where, so you can check them again later or hand them to someone helping you.
Prefer to watch: the setup on screen
Prefer to watch? Unspam’s walkthrough shows the same three records being set up for Google Workspace. It covers generating the DKIM key, adding the SPF record, and starting DMARC at p=none — with a real test send at the end:
Video credit: “Google Workspace Emails in Spam? How to Fix It (DKIM, SPF)” by Unspam on YouTube. This video is the property of its creator and is embedded here via YouTube for educational purposes. OutreachCompare is not affiliated with Unspam and does not claim ownership of this content.
Testing your SPF DKIM DMARC setup before you send
Once you set up sending domain SPF DKIM DMARC records, test that all three are actually live before you send anything — even a warmup email. DNS records can take hours to publish, and a single typo can silently break authentication, so a two-minute check now saves days of confusion later. First, run your sending domain through a free checker such as MXToolbox, which shows your SPF, DKIM and DMARC records and flags anything missing or malformed. Next, send a test email from your new mailbox to a Gmail address you control, open it, and check that Gmail shows the message as authenticated. In short, if the checker shows all three records and Gmail is happy, you are ready. If anything is missing, go back to your DNS panel, check for typos, and wait a few more hours — DNS changes are not instant, and patience here is part of the job.
Re-check your records after every change
In addition, keep testing a habit, not a one-off. Re-check your records whenever you change sending tools, add a new mailbox, or connect a new service that sends email for you. Each new sender may need to be added to your SPF record or given its own DKIM key. For example, if you add a second tool later and your spam rate suddenly climbs, a missing SPF entry is one of the first things to check. As a result, a quick test after every change keeps small problems small. Finally, remember that authentication is necessary but not sufficient: SPF, DKIM and DMARC prove you are who you say you are, but they do not prove you are a good sender. That is what warmup and careful sending are for, and they come next.
Setting up a custom tracking domain
Most sending tools track opens and clicks by rewriting the links in your emails to go through a shared tracking domain first. That is convenient, but it has a hidden cost: if hundreds of other senders use the same shared tracking domain, and some of them send spam, your emails inherit that domain’s bad reputation. A custom tracking domain fixes this. It is a small subdomain of your own sending domain — for example, track.yourcompany.co — that only you use for link tracking. As a result, your reputation is yours alone, and nobody else’s behaviour can drag it down.
To set one up, create a CNAME record in your DNS pointing your chosen subdomain at the address your sending tool gives you, then switch tracking on inside the tool and select your custom domain. The whole job takes about five minutes, and your tool will confirm when the subdomain is live. In practice, do this right after you set up sending domain SPF DKIM DMARC records and before you start warmup, so every warmup email already uses your own tracking domain from day one. However, keep the tracking domain boring and professional — track, click or links are all fine — and never use it for anything else. Finally, note that a custom tracking domain is a deliverability upgrade, not a magic fix: it protects your reputation, but it cannot rescue a domain that sends to bad lists or ignores its limits.
Warming up your sending domain: the 2–4 week ramp
Warmup is the part beginners are most tempted to skip — and the part that matters most. A brand-new domain has no sending history, so mailbox providers have no reason to trust it yet. If it suddenly sends hundreds of emails on day one, it looks exactly like a spammer’s new domain, and it will be treated like one. Warmup solves this by building a history of normal, human-looking email behaviour first: small volumes, real opens, real replies, and no spam complaints, increasing slowly over two to four weeks. In other words, warmup is how a new domain earns its reputation before it has to spend it.

How warmup actually works
In practice, you do warmup with a warmup tool — either built into your sending tool or a standalone service. It exchanges emails with a network of real inboxes that open, reply and rescue your messages from spam. You switch it on, and it handles the daily sending for you. Your only job is to be patient and to watch the numbers. If open and reply rates look healthy and nothing lands in spam, you are on track. If anything looks off, slow down: drop the daily volume, wait a few days, and let the domain recover. As a result, a domain that gets flagged early is much harder to fix than one you warmed up patiently, so treat the ramp as a minimum, not a target to beat.
A typical warmup ramp, week by week
| Week | What happens | Daily warmup volume per mailbox |
|---|---|---|
| Week 1 | Warmup starts. A handful of emails a day, opened and replied to by the warmup network. No real prospecting yet. | 5–10 emails a day |
| Week 2 | Volume roughly doubles as replies come back and reputation builds. Keep watching spam placement. | 10–20 emails a day |
| Week 3 | Approaching normal volume. Start sending a small number of real emails alongside warmup. | 20–30 emails a day |
| Week 4 | Full daily pace, with warmup still running quietly in the background. Ready for real campaigns. | 25–30 emails a day |
This is a typical ramp, not a rule written in stone — your warmup tool will suggest its own daily numbers, and you should follow them. If your tool suggests fewer emails than the table above, trust it: slower is safer. Features and guidance can change, so please check your provider’s site before you buy.
Keep warmup running after you start sending
For example, when your warmup tool sets a starting pace of 10 emails a day, follow it — that number is deliberately cautious, and cautious is what keeps a new domain safe. In addition, keep warmup running even after you start sending to real prospects: most tools keep a low level of warmup activity going in the background, which protects your reputation while you send. Instantly’s guide to scaling email warm-up explains the slow-ramp approach in more detail, and it is worth a read before you set your daily numbers.
However, warmup is not a cure for bad lists or bad emails. It builds reputation; it cannot hide spammy behaviour. Finally, if you ever pause sending for a month or more, warm the domain up again for a week before resuming full volume — a cold domain is treated much like a new one. Compare warmup tools on our Best Warmup Tools hub, and read the comparison table near the end of this guide.
Watch the four-step launch
Prefer to watch? CleanSignups’ short video walks through the whole new-domain launch in four steps — authenticate, test, warm up, and check inbox placement:
Video credit: “How to Warm Up a New Domain Before Cold Email (4 Steps)” by CleanSignups on YouTube. This video is the property of its creator and is embedded here via YouTube for educational purposes. OutreachCompare is not affiliated with CleanSignups and does not claim ownership of this content.
Sending limits and how to scale safely
Once warmup is finished, the temptation is to send as much as possible. Resist it. To stay safe, start small: 25 to 30 emails per mailbox per day, never more than 40. That limit is not about your tool — it is about how mailbox providers judge you. A single mailbox that suddenly sends 200 emails a day looks automated, even if every email is personal and relevant. In contrast, a mailbox sending 25 to 30 a day, with replies coming back and a steady rhythm, looks like a normal human doing normal business. In short, the limit protects you.
Add mailboxes, not volume
Instead, to send more, add another mailbox on the same sending domain, rather than pushing one mailbox harder. For example, three mailboxes at 30 emails a day gives you 90 emails a day — safely — while one mailbox at 90 a day puts your domain at risk. Each new mailbox needs its own warmup, so add mailboxes a week or two before you need the volume, and warm each one up the same slow way. As a result, scaling becomes a matter of adding inboxes, not raising limits: five mailboxes at 30 a day is 150 emails a day, all within the safe range. That is how agencies and larger senders scale without burning domains.
Finally, spread your sending across the working day instead of sending everything at 9am. Most tools do this automatically with sending windows and small random delays between emails, which makes your sending look human rather than scripted. In addition, keep your list clean: verify every address before you send, and remove anyone who bounces or asks to stop. High bounces and complaints are the fastest way to undo a good warmup, whatever your daily volume. For the full system — lists, writing and follow-ups — read our Cold Email for Beginners: The Complete 2026 Guide.
Google Postmaster Tools: reading your reputation
Once you set up sending domain SPF DKIM DMARC records and start sending, you need a way to see how Gmail judges your domain — and that is exactly what Google Postmaster Tools does. It is a free tool from Google that shows your domain reputation, your spam complaint rate, and whether your emails are passing SPF, DKIM and DMARC, all from Gmail’s point of view. Since Gmail is the largest mailbox provider, its view of your reputation matters more than any other single signal. In short, if Postmaster Tools says your reputation is high and your spam rate is low, you are in good shape. If it says otherwise, you will know early, while the problem is still small.

Setting up Postmaster Tools
To set it up, sign in to Google Postmaster Tools with a Google account, add your sending domain, and verify it by adding the TXT record Google gives you to your DNS. After that, data appears once you are sending enough volume for Google to report on — usually within a few days of regular sending. Then, check it once a week, and watch three numbers in particular. First, domain reputation: Google rates it Bad, Low, Medium or High, and you want High. Next, spam rate: the share of your emails that recipients report as spam, which should stay under 0.1%. Finally, authentication: the share of your mail passing SPF, DKIM and DMARC, which should be close to 100%. If reputation drops or spam rate rises, slow down immediately, check your list and your targeting, and let the domain recover before you send more.
What the numbers mean
In addition, Postmaster Tools shows you feedback loops and delivery errors, which tell you whether specific problems — such as a broken authentication record or a sudden block — are behind a dip. For example, a sudden fall in reputation the week you added a new sending tool usually means the new tool’s SPF entry is missing, and the fix is a one-line DNS change. As a result, a weekly five-minute check in Postmaster Tools catches most deliverability problems while they are still cheap to fix. However, remember that Postmaster Tools only shows Gmail’s view. Outlook and other providers judge you separately, so keep your bounces and complaints low everywhere, not just in Gmail’s numbers.
Measuring your sending domain success: bounce, spam and replies
Once you start sending, measure what matters, and ignore vanity numbers. For example, open rates have become unreliable since Apple Mail Privacy Protection began masking them, so treat opens as a rough signal at best and judge success by replies instead. Instead, watch the numbers that actually tell you whether your sending domain is healthy and your emails are wanted. The table below gives the healthy targets we use across our guides.
| Metric | Healthy target |
|---|---|
| Bounce rate | Under 2% |
| Spam complaint rate | Under 0.1%, never above 0.3% |
| Reply rate | Around 3% on average |
| Positive reply rate | 1–3% |
| Meetings booked | 2–3 per 100 emails sent |
What to do when your sending domain numbers are off
High bounces mean your list needs verifying — run every address through a verification tool before you send, and read our guide to getting your first email addresses for the safest sources. High spam complaints mean your targeting is too broad: you are emailing people who do not want to hear from you, so narrow your list and sharpen your offer. Few replies usually point to the offer or the opening line — adjust one element, send again, and compare the results before changing anything else. In short, these numbers are your early warning system. A domain with bounces under 2% and spam under 0.1% is a healthy domain, and a healthy domain is one you can keep sending from for years. If any number drifts past its target, stop, fix the cause, and only then resume sending.
Warmup tools compared
At this stage, you do not need the most expensive tool — you need one that warms up reliably, works with your sending tool, and grows with you. To help you choose, here are four tools beginners use most for warmup, ranked for a first campaign. Compare them in full on our Best Warmup Tools hub and our Best Email Deliverability Tools hub.
The four tools at a glance
| # | Tool | Key strengths | Starting point | |
|---|---|---|---|---|
| 1 | Instantly ★ Best for: Beginners Best for beginners who want warmup built into their sending tool. | ✓ Warmup built in, unlimited mailboxes ✓ Deliverability and inbox rotation | Unlimited mailboxes | Visit Site →Check the site for current pricing & trial |
| 2 | Smartlead ★ Best for: High volume Best for high-volume sending with deliverability-first warmup. | ✓ Warmup built in, deliverability-first sending ✓ Multi-client workspaces | Multi-client | Visit Site →Check the site for current pricing & trial |
| 3 | Lemlist ★ Best for: Personalisation Best for personalised outreach with warmup alongside it. | ✓ lemwarm warmup and 450M+ contact database ✓ Images, video and LinkedIn steps | 14-day free trial | Visit Site →Check the site for current pricing & trial |
| 4 | Woodpecker ★ Best for: Simple & reliable Best for a simple first campaign — pair it with a standalone warmup tool. | ✓ Low learning curve ✓ Deliverability checks and smart follow-ups | Low learning curve | Visit Site →Check the site for current pricing & trial |
Last checked: 15 November 2026. Warmup availability is stated on each provider’s site — see the feature matrix below. Features and pricing can change, so please check the provider’s site before you buy. We do not guess at features, prices or trials.
Our verdict for sending domain warmup
Quick comparison at a glance
Same four tools, one view — so you can see at a glance which ones bundle warmup, multichannel steps or a contact database, and which keep it simple.
| Feature | Instantly | Smartlead | Lemlist | Woodpecker |
|---|---|---|---|---|
| Built-in warmup | ✓ | ✓ | ✓ | — |
| Multichannel (email + LinkedIn / calls) | — | — | ✓ | — |
| Built-in B2B data / lead finder | — | ✓ | ✓ | — |
| Free trial or free plan | — | ✓ | ✓ | — |
✓ = feature stated on the provider’s site or in its official video. — = not confirmed for this tool — check the provider’s site before you buy. We do not guess at features, prices or trials. Last checked: 15 November 2026.
Common mistakes beginners make
- Sending from your main domain. Always use a separate sending domain. Your main domain carries your website, your customers and your invoices — keep cold email far away from it.
- Skipping SPF, DKIM or DMARC. In fact, all three records are needed before you send — Gmail treats unauthenticated mail as suspicious.
- Jumping straight to DMARC reject. Start with p=none, watch the reports for a week or two, and only then tighten the policy.
- Skipping warmup. A new domain needs two to four weeks of warmup, or your emails will land in spam.
- Sending 100 emails a day from one mailbox. Instead, keep it to 25 to 30 per mailbox per day, and add mailboxes to scale.
- Using a shared tracking domain. Set up your own custom tracking domain, so nobody else’s reputation becomes yours.
- Never checking Postmaster Tools. Check your domain reputation weekly — a five-minute check catches problems while they are still cheap to fix.
- Ignoring bounces and complaints. Above all, bounces over 2% or spam over 0.1% mean stop, fix the cause, and only then resume.
Frequently asked questions
What does it mean to set up a sending domain for cold email?
To set up a sending domain for cold email means buying a separate domain for your outreach, creating a mailbox on it, and adding SPF DKIM DMARC records so mailbox providers can verify your emails really come from you. You then warm the domain up for two to four weeks before sending to real prospects. Your main domain stays untouched, so its reputation is never at risk.
How do I set up sending domain SPF DKIM DMARC records?
When you set up sending domain SPF DKIM DMARC records, add an SPF TXT record listing your approved senders. Then generate a DKIM key in your mailbox provider’s admin console and publish it in DNS. Wait 48 hours, then add a DMARC record at _dmarc starting with p=none. Your sending tool and mailbox provider give you the exact values to paste in — see the step-by-step section above for the full order.
How long should I warm up a sending domain?
Warm up a new sending domain for two to four weeks. Start with 5 to 10 emails a day in week one, roughly double in week two, and reach your normal volume of 25 to 30 emails per mailbox per day by weeks three to four. If open and reply rates look healthy and nothing lands in spam, you are ready for real campaigns. See the week-by-week ramp above.
How many cold emails can I send per day per mailbox?
Send 25 to 30 cold emails per mailbox per day, and never more than 40. To send more, add another mailbox on the same sending domain and warm it up, rather than pushing one mailbox harder. Three mailboxes at 30 a day gives you 90 emails a day — safely.
What is a custom tracking domain and do I need one?
A custom tracking domain is a subdomain of your own sending domain, such as track.yourcompany.co, used only by you for open and click tracking. You need one because shared tracking domains carry other senders’ reputations — including spammers’. Setting one up takes about five minutes with a single CNAME record, and you should do it before warmup starts.
How do I know if my sending domain is healthy?
Check Google Postmaster Tools weekly: you want a High domain reputation, a spam complaint rate under 0.1%, and SPF, DKIM and DMARC passing close to 100% of the time. Keep your bounce rate under 2% as well. If any number moves the wrong way, slow down, fix the cause, and let the domain recover before you send more.
Prefer video?
Two videos are embedded in this guide: Unspam’s Google Workspace authentication walkthrough in the SPF, DKIM and DMARC section and CleanSignups’ four-step new-domain launch in the warmup section. Both were checked on 15 November 2026, both belong to their creators, and both carry a full credit line underneath; OutreachCompare does not claim ownership of either one.
Your next step
By now, you know how to set up sending domain SPF DKIM DMARC authentication from scratch. Work through it in order: buy your separate sending domain, add SPF, DKIM and DMARC, test the records, set up your custom tracking domain, and start warmup the same day. Then, while the domain warms up, build your list and write your first emails — by the time warmup finishes in two to four weeks, you will be ready to send. Start with our Start Here hub, then How Cold Email Works, and read our Cold Email for Beginners: The Complete 2026 Guide for the full system. You are in the right place — set it up once, properly, and it will serve you for years.
Keep reading — next in this series
Your sending domain is set up. Go deeper with the guides that go with this one:
- Cold Email for Beginners: The Complete 2026 Guide — the full beginner system, from offer to first meeting.
- How to Get Your First Email Addresses — the Safest Ways, in Order — build your first list of 50 to 200 verified work addresses.
- Is Cold Email Legal? The Simple Checklist — the rules for every country, in plain English.
- Start Here — the hub that maps the whole beginner journey, in order.
- How Cold Email Works — the seven steps of a campaign, end to end.
- The short checklist version of the legal guide — the same rules in a shorter form.
- Best Warmup Tools — compare the tools that warm up your domain.
- Best Email Deliverability Tools — monitor inbox placement and sender reputation.
- Best Email Verification Tools — verify your list before you send, and keep bounces under 2%.
- Best Cold Email Software — compare the sending tools themselves.
- Best Cold Email Tools for Beginners 2026 (coming soon)
Leave a Reply